
Wednesday, November 30, 2011
Microwave Cleaning Tip!
Tuesday, November 29, 2011
Rons Seasoned Hamburger Patties!

INGREDIENTS
1 lb ground beef
2 teaspoons A-1 steak sauce
2 teaspoons Worcestershire sauce
1/2 teaspoon garlic salt
1/2 onion powder
1/2 teaspoon pepper
1/2 teaspoon of brown sugar
Optional: 1 tablespoon grated onion, I personally always use the onion. Grated onion is like juicy onion pulp and mixes in really nice. Just peel a small onion and slide it up and down a cheese grater or grate it in your food processor.
MAKE IT
1. Combine ground beef and other ingredients in a bowl and mix thoroughly.
2. Make meat mixture into patties and grill them or fry in a skillet!
Tuesday, November 22, 2011
Easy Chicken Enchiladas!

I made these for dinner tonight and they were a huge hit! The recipe came from the back of the container of the Philadelphia Santa Fe Blend Cooking Creme. I had a coupon for the cooking creme and it was only going to cost me 50 cents to buy it so I figured I would give it a try and I'm very glad I did! I was surprised and how much I really liked the taste of the cooking creme!
When making these I didn't have a can of diced tomatoes so I just used fresh ones and I used 5 small chicken breasts and it was just the right amount. Also I added just a little bit of salsa to the chicken mixture.
INGREDIENTS
1 small onion, chopped
2 tsp. oil
3 cups shredded cooked chicken breasts
1 can (14.5 oz) no-salt-added diced tomatoes, drained
1 tub (10 oz) PHILADELPHIA Santa Fe Blend Cooking Creme, divided
1/2 cup KRAFT mexican style finely shredded four cheese
8 flour tortillas (6 inch)
MAKE IT
1. heat oven 350.
2. cook and stir onions in hot oil in large skillet on medium heat 4 to 5 minutes or until crisp-tender. Stir in chicken, tomatoes, 3/4 cup cooking creme and shredded cheese.
3. spoon in about 1/3 cup chicken mixture down center of each tortilla ; roll up. Place seam-sides down, in 13x9 baking dish sprayed with cooking spray; top with remaining cooking creme. Cover.
4. bake 15 to 20 minutes or until heated through.

Monday, November 21, 2011
Pine Cone Bird Feeder!

Today's is just a fun little project to do with the kiddos....or just by yourself! In my house it started out as my son doing it but then decided to make me finish it haha!
WHAT YOU NEED
pine cones
peanut butter
bird seed
string
MAKE IT
1. Attach some string to your pine cone and then spread peanut butter all over the pine cone.
2. Roll the pine cone in the bird seed.
3. Hang it outside!

Sunday, November 20, 2011
Spiced Edamame!

Today's recipe is very easy to make and has lots of flavor! I found this recipe on foodnetwork.com.
INGREDIENTS
1lb bag of edamame
2 tsp salt
1tsp chili powder
1/4 tsp red pepper flakes
1/2 tsp dried oregano
MAKE IT
1. Boil edamame until soft - about 8 minutes. Drain.
2. Toss the edamame in a bowl with the spices.
Saturday, November 19, 2011
Spinach & Artichoke Dip!

INGREDIENTS
1 can artichoke hearts
2 cups mayonnaise
2 cups chopped spinach (you can use frozen...just thaw it and drain)
2 cups parmesan cheese
1 cup pepper jack cheese
1 cup green chilies
1 tbs garlic powder
2 tbs onion powder
1 cup monterrey jack cheese
MAKE IT
1. Blend artichokes in blender or chop.
2. Mix together all ingredients
3. Bake at 350°F for 45 minutes
Tuesday, November 15, 2011
Rice Krispies Pops!

INGREDIENTS
3 tbsp. butter or margarine
4 cups mini marshmallows
6 cups Kellogg's rice krispies cereal
12 oz package semisweet chocolate morsels
1 tbsp. vegetable oil
24 lollipop sticks or wooden ice cream sticks
MAKE IT
1. In a large pan, melt butter over low heat. Add marshmallows and stir until completely melted. Remove from heat. Add rice krispies cereal. Stir until well coated.
2. Using greased 1/4-cup measuring cup, divide warm cereal mixture into 24 portions. Using buttered hands, shape each portion into ball. Cool.
3. In microwave-safe bowl combine chocolate morsels and oil. Microwave on high for 1 to 1 1/2 minutes or until smooth, stirring every 30 seconds. Dip each ball into chocolate. Decorate with candy or sprinkles. Let stand until firm.
Sunday, November 13, 2011
Homemade French Fries!

I know this is a super simple easy one today but hey who doesn't love french fries? These taste so much better than the frozen ones that come out of a bag! I have never really been good and frying things but my husbands grandmother Evelyn showed me how...I think my problem was I never really had the oil hot enough, oops! I don't enjoy peeling potatoes so everytime I cook with potatoes I always leave the skin on them.
INGREDIENTS
potatoes (use as many as you would like)
oil
sea salt
MAKE IT
1. Heat up your oil on high heat in a pan on the stove. While your oil is heating up cut your potatoes into the size that you desire.
2. Put your fries into the oil and cook them until they are a nice and golden! (cook longer if you would like them crispy)
3. Take them out and put them onto a plate lined with a paper towel and top with sea salt!


Saturday, November 12, 2011
Fro Nanas!
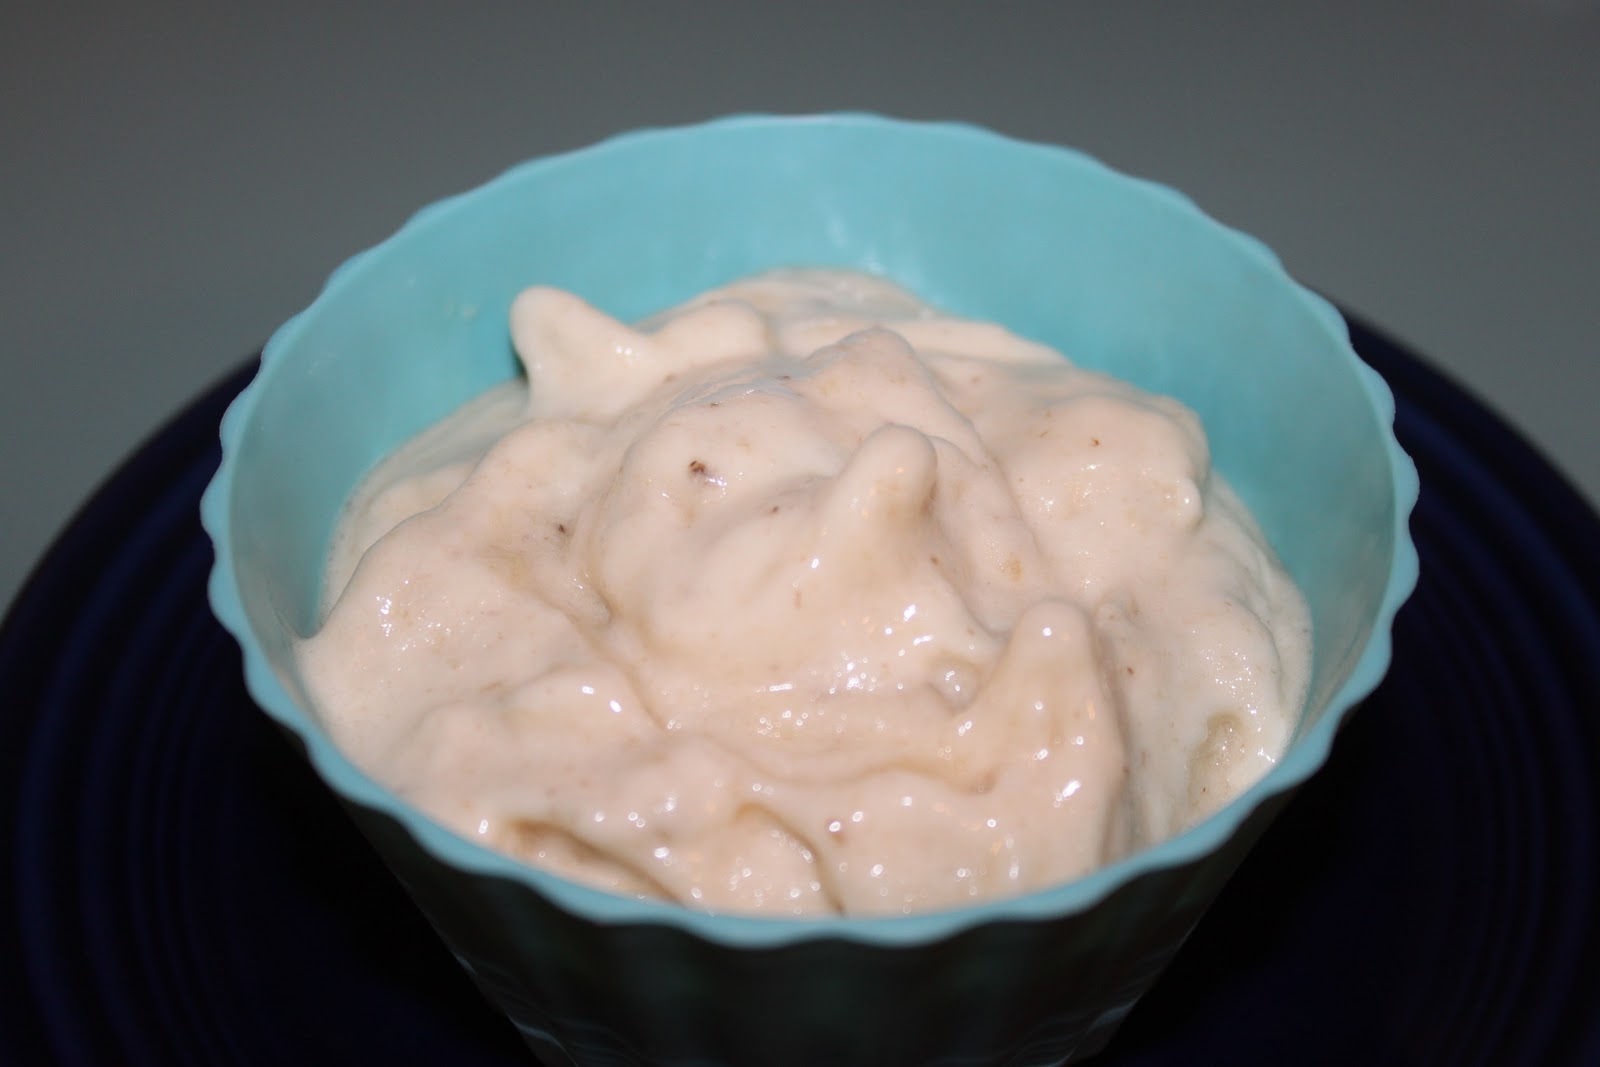
INGREDIENTS
frozen bananas
MAKE IT
1. Stick your frozen bananas into your food processor until it comes to the consistency you want
ITS THAT EASY!!!
Friday, November 11, 2011
Homemade Teriyaki Sauce!

I absolutely love this recipe from heavenlyhomemakers.com! It is the best tasting teriyaki sauce next to what you would get served in a restaurant. We use this on wings, chicken breast, pork, stir fry, and even as a dipping sauce for fries! I have tried many different kinds of teriyaki sauce they sell at the grocery stores but I am never really impressed and end up throwing the bottle of it away after using it just one time. This recipe is really easy to make, it takes me about 10 minutes or less. I wasn't able to find organic cornstarch that the recipe calls for at our commissary and didn't feel like venturing out to another store with three kiddos in tow just to find it so i settle for the regular kind!
INGREDIENTS
1/4 cup tamari soy sauce
1 cup water1-2 teaspoons freshly grated ginger or dry ground ginger (more or less to taste)
2 Tablespoons honey
1 minced garlic clove
2 Tablespoons organic cornstarch
1/4 cup cold water
MAKE IT
1. Combine 1 cup water, soy sauce, honey, garlic and ginger in a saucepan and bring to a boil, stirring constantly. Dissolve cornstarch in 1/4 cup cold water and add to sauce. Stir constantly and allow the sauce to thicken. If the sauce is too thick, add a little bit of water or soy sauce to thin.
When I make mine I end up with 1 1/2 cups!!!

Thursday, November 10, 2011
Vanilla Rich Chocolate Chip Cookies!


INGREDIENTS
3 1/4 cups flour
1 tsp. baking soda
3/4 tsp. salt
1 1/3 cups butter, softened
1 1/4 cups granulated sugar
1 cup firmly packed light brown sugar
2 eggs
4 tsp. McCormick Pure Vanilla Extract
1 pkg. (12 oz) semi-sweet chocolate chips
1 cup coarsely chopped walnuts
MAKE IT
1. Mix flour, baking soda and salt in medium bowl. Beat butter and sugars in large bowl with electric mixer on medium speed until light and fluffy. Add eggs and vanilla; mix well. Gradually beat in flour mixture on low speed until well mixed. Stir in chocolate chips and walnuts.
2. Drop by rounded tablespoons about 2 inches apart onto ungreased baking sheets.
3. Bake in preheated 375°F oven 8 to 10 minutes or until lightly browned. Cool on baking sheets 1 minute. Remove to wire racks; cool completely.
Makes 5 dozen!
Wednesday, November 9, 2011
Double Chocolate Chunk Mint Cookies!

So today's recipe is for a very delicious twist on the double chocolate chunk cookies! I love mint so when I saw this McCormick recipe in Parents Magazine I just had to try it! it reminds me of the mint oreos and the thin mint girl scout cookies. I was a little curious about it though and wondered if it would have to much of a "minty" taste to it. I was pleasantly surprised when I took a bite into it just how yummy it was! they have just the right amount of mint and chocolate gooey-ness to make me happy!
When making these I was unable to find peppermint extract at the commissary and I decided I would try just the regular mint and it turned out just fine! Also , I decided to leave out the walnuts.
INGREDIENTS
2 cups flour
2/3 cup unsweetened cocoa powder
1 tsp. baking soda
1/4 tsp. salt
1 cup (2 sticks) butter, softened
1 cup granulated sugar
2/3 cup firmly packed light brown sugar
2 eggs
1 tsp. McCormick Pure Peppermint Extract
6 oz semi-sweet baking chocolate, coarsely chopped
1 cup coarsely chopped walnuts
MAKE IT
1. Mix flour, cocoa powder, baking soda and salt in medium bowl. Set aside. Beat butter and sugars in large bowl with electric mixer on medium speed until light and fluffy. Add eggs and extract; mix well. Gradually stir in flour mixture on low speed until well mixed. Stir in chocolate and walnuts.
2. Drop dough by rounded tablespoonfuls about 2 inches apart onto baking sheets sprayed with no-stick cooking spray.
3. Bake in preheated 350°F oven 8 to 10 minutes or just until cookies are set. Cool on baking sheet 2 minutes. Remove to wire racks; cool completely. Store cookies in airtight container up to 5 days.
Makes 4 dozen

Tuesday, November 8, 2011
Harvest Soup!

So the other day I was reading in Parents Magazine and came across this soup recipe for Harvest Soup! I was a little unsure of how everyone would like it but it turned out great, the twins even loved it! This soup is rich, velvety and just amazing!
When I making this soup I used a blender since my food processor is pretty small. I added some shredded monterrey jack cheese on top and just whatever kind of croutons i had in the cupboard! I hope you all enjoy it as much as I did!
INGREDIENTS
1 Tbs. olive oil
1/2 cup chopped carrot
1/2 cup chopped celery
1/3 cup chopped onion
1 1/2 lbs. butternut squash, seeded and cut into 1-inch cubes (about 3 1/2 cups)
2 medium apples, cored and cut into 1/2-inch pieces (using a thin-skinned apple will make it easier to puree some examples are, Golden Delicious, Gala, or Northern Spy)
4 cups low-sodium chicken broth
Ground black pepper to taste
Whole-grain croutons
MAKE IT
1. In a big pot, heat oil on medium. Add carrots, celery, and onions. Cook, stirring occasionally, for 8 to 10 minutes or until tender and starting to brown. Add squash, apples, and broth. Bring to a boil. Reduce heat. Simmer, uncovered, for 20 minutes or until squash is tender. Cool slightly.
2. Puree soup, in two batches if needed, in a blender or food processor. Add pepper and croutons. Makes about 6 cups.
Welcome!
Welcome to my new blog, i have gone back and forth about starting one of these for a while now and well today i finally decided ha ha! My family has been calling me julie bakes a lot, a lot in the last 6 months or so because i am constantly texting them and sending them pictures of what is on the menu. A few people have told me to start a blog but i just wasn't sure i would have the time, its busy in my house with preschooler and almost 1 year old twins! I love to cook and try new things so mostly I am going to put up recipes of new things I have tried and loved! I'm not going to limit my blog to just cooking though... I am going to leave it open for whatever!
Subscribe to:
Posts (Atom)